Step-by-Step Guide: Simplifying the Visa on Arrival Process in Indonesia
Smooth Exit with a Visa on Arrival
Originally, I had planned to apply for an e-visa, but I didn’t anticipate that from March 28th to April 7th, Indonesia would be celebrating Eid al-Fitr, and the government offices would be closed. This meant that processing an e-visa was not possible during that time.
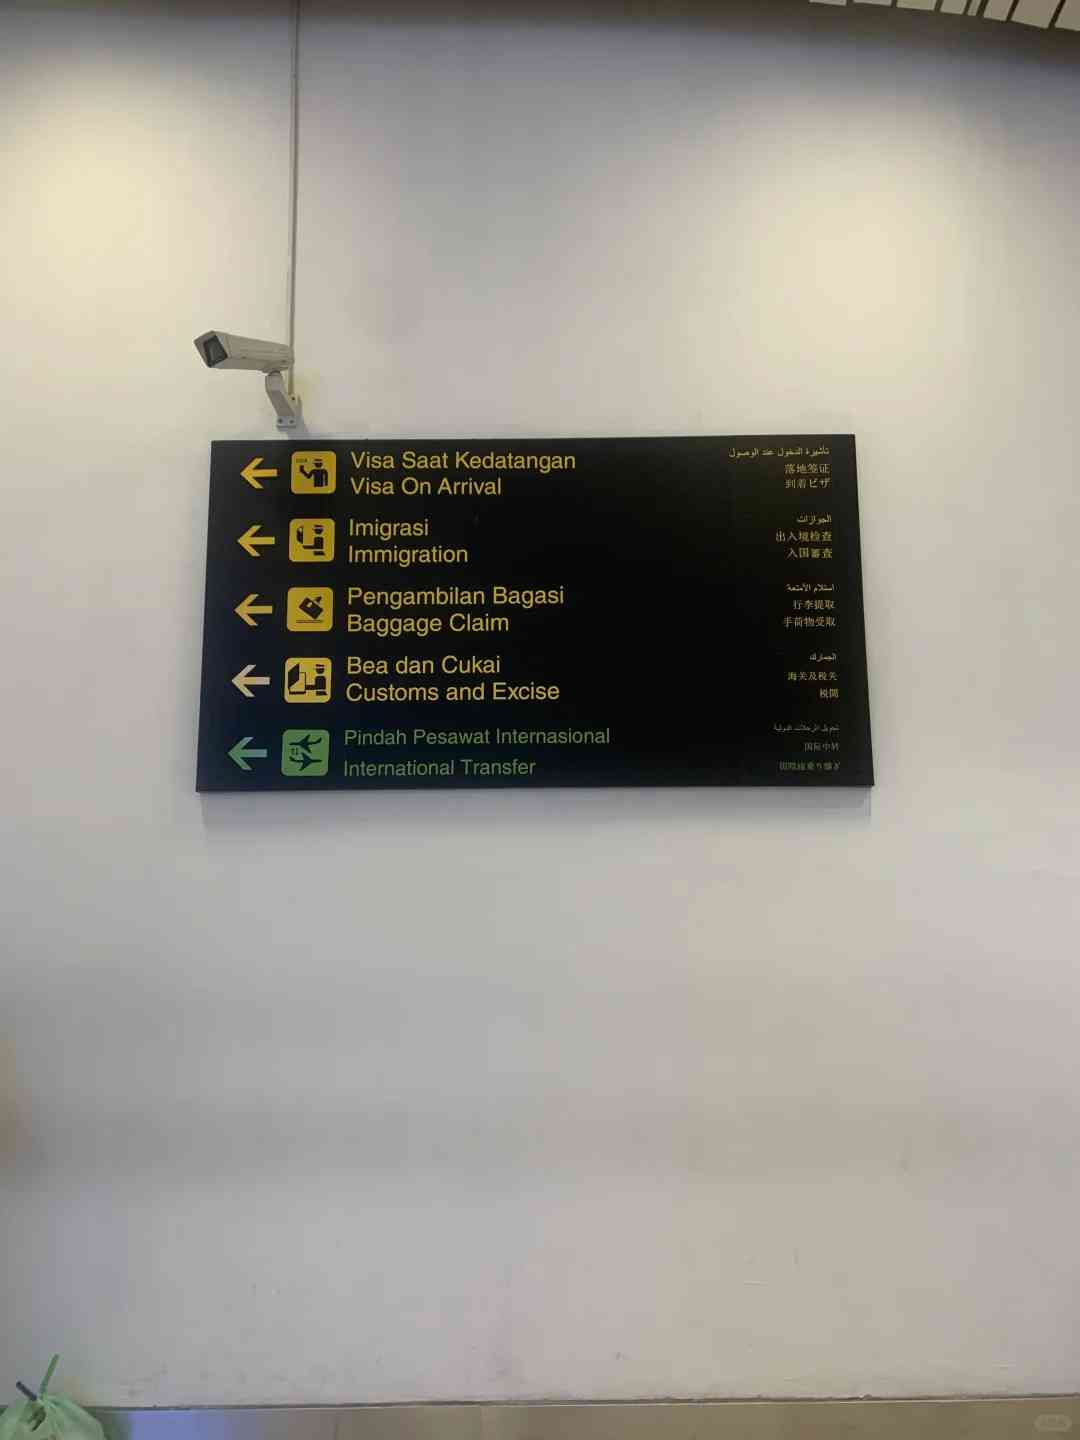
I boarded the plane with only US dollars in hand. Upon arrival at the airport, I followed the crowd and made my way to the manual processing counter to inquire from the staff. At this point, the built-in translation app on my Apple device proved to be incredibly useful. I had downloaded the offline data beforehand, so I could input Chinese, and the app instantly translated it into Indonesian.
The staff also knew the Chinese term for “visa on arrival,” though their accent required a bit of careful listening. If communication became too challenging, the translation app was a lifesaver. Since it was Eid al-Fitr, equivalent to the first day of the lunar new year in Indonesia, the airport was surprisingly quiet, and we almost didn’t have to wait before reaching the manual window.
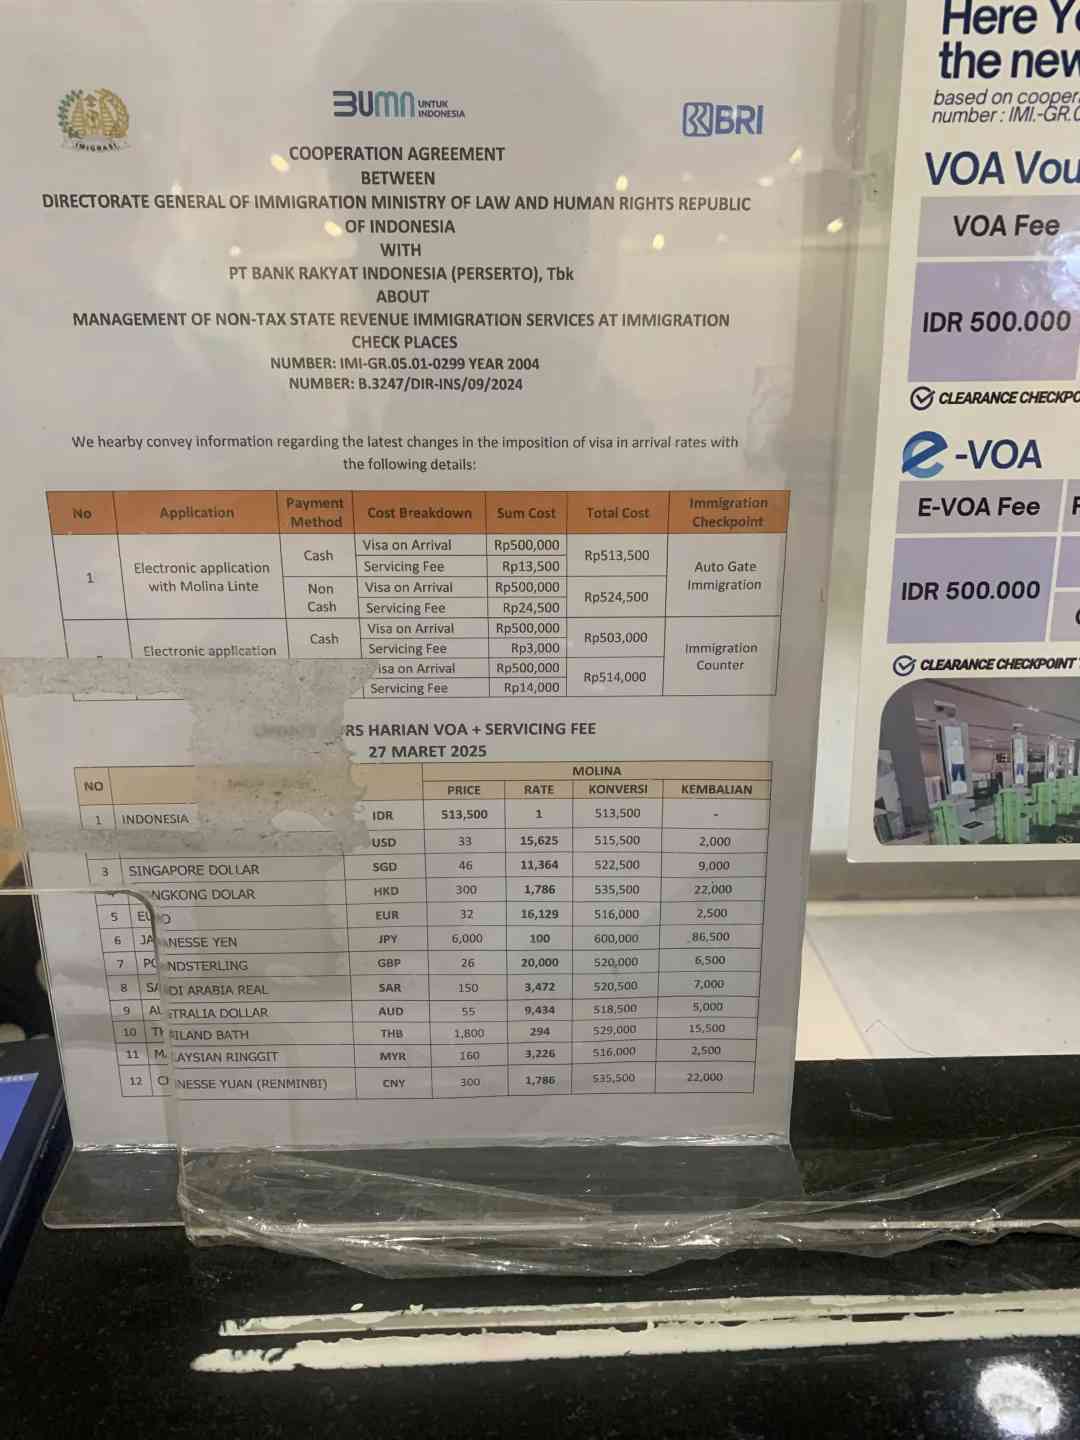
After informing them that I would pay in US dollars, I handed over my passport. For two people, the cost was 66 USD, and I gave them 70 USD. I filled in my email address, and the staff promptly sent the necessary information to my email, printing out a small white receipt. They then asked if I wanted the change in US dollars or Indonesian rupiah.

They had already placed more than 60,000 rupiah in front of me. Knowing I would need to make some purchases in Indonesia, I accepted the rupiah. Everything was handled efficiently, and contrary to what I had read online, the counter staff did not ask for tips. There was a camera above the window and promotional materials clearly stating: “No tipping allowed.
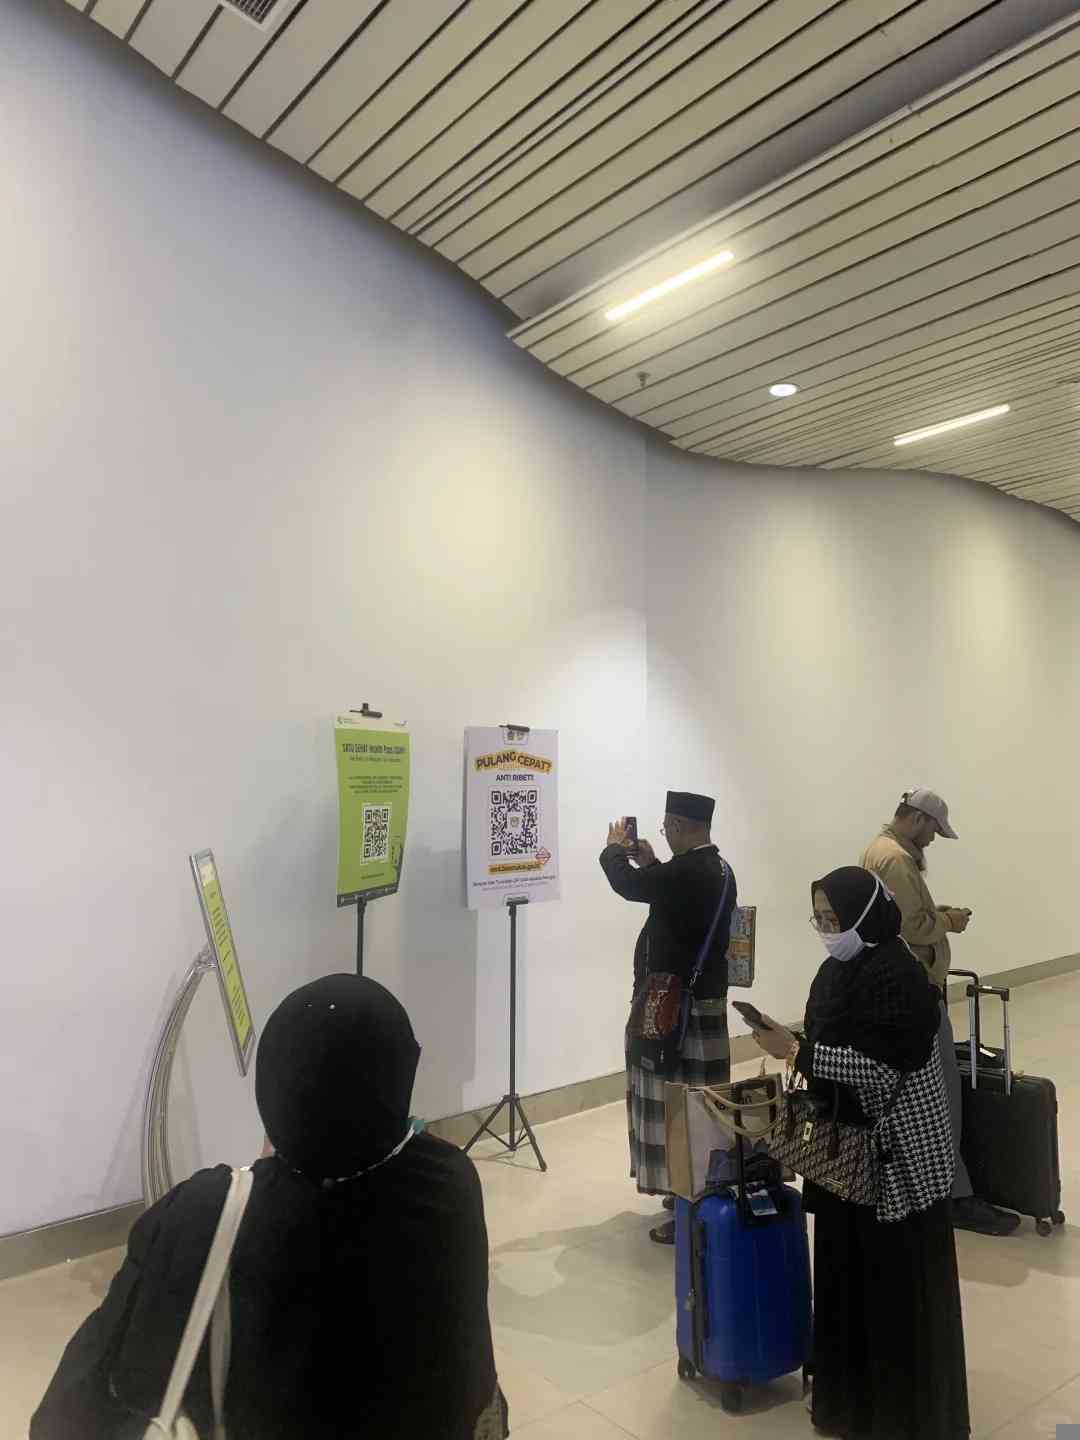
” It seems that the Indonesian customs authorities are quite strict about this (I heard they had caught more than ten people earlier). With the white receipt in hand, I proceeded forward and saw the QR code for declaration. We had already declared in China, so showing the QR code was sufficient to pass (keep the white receipt as the staff will check it).
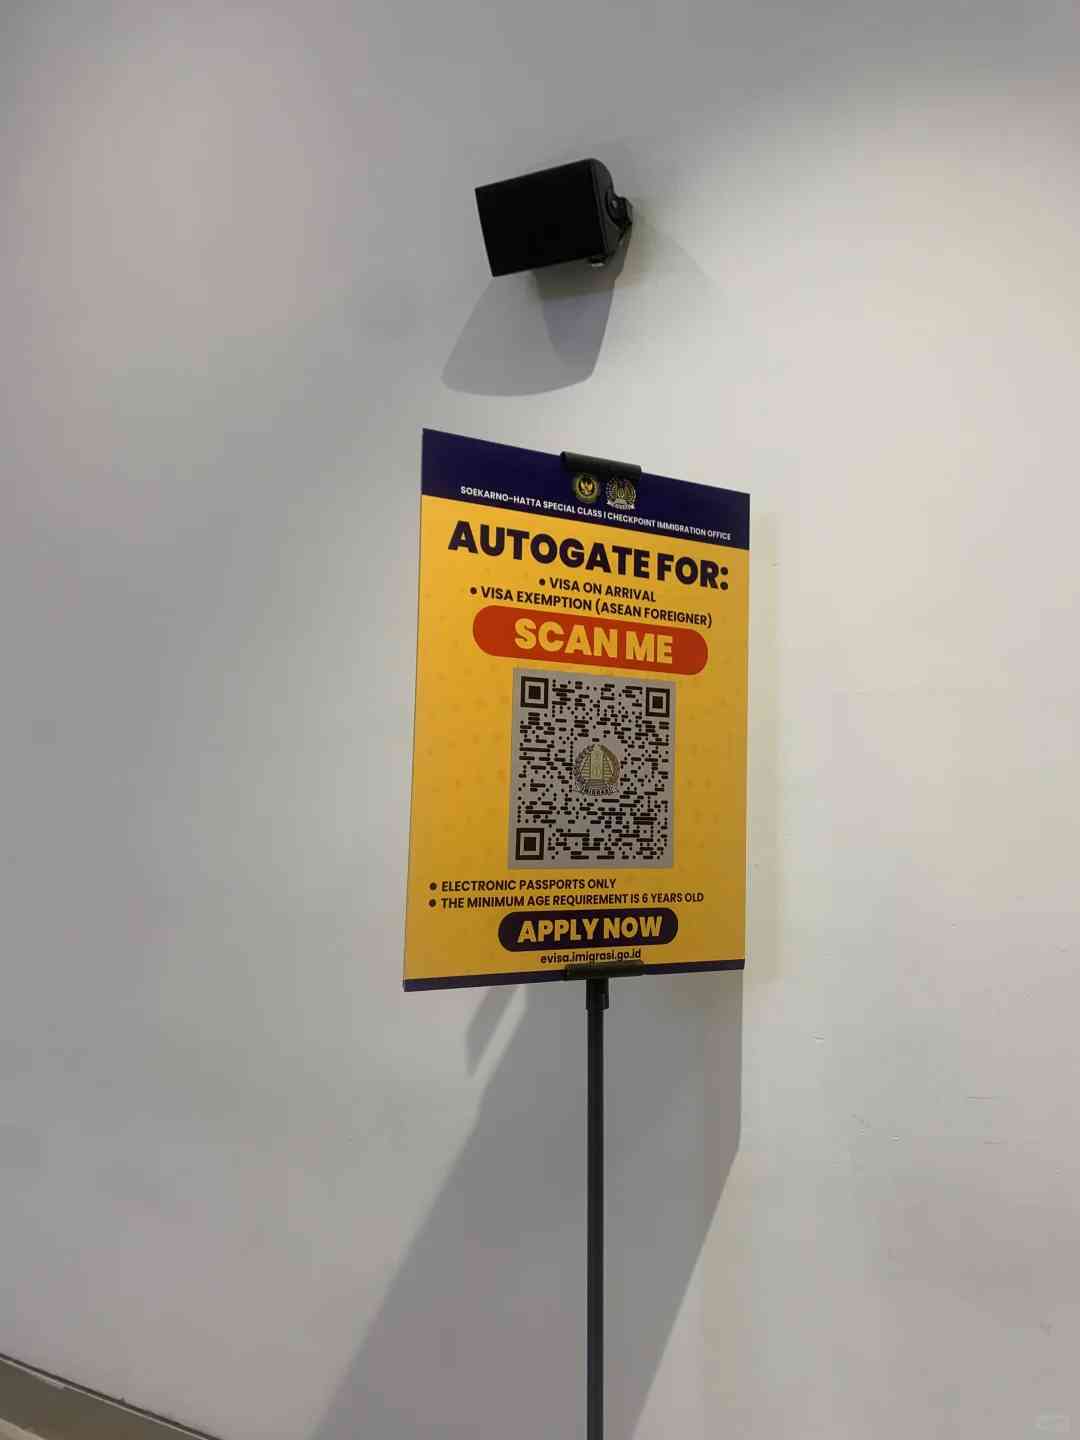
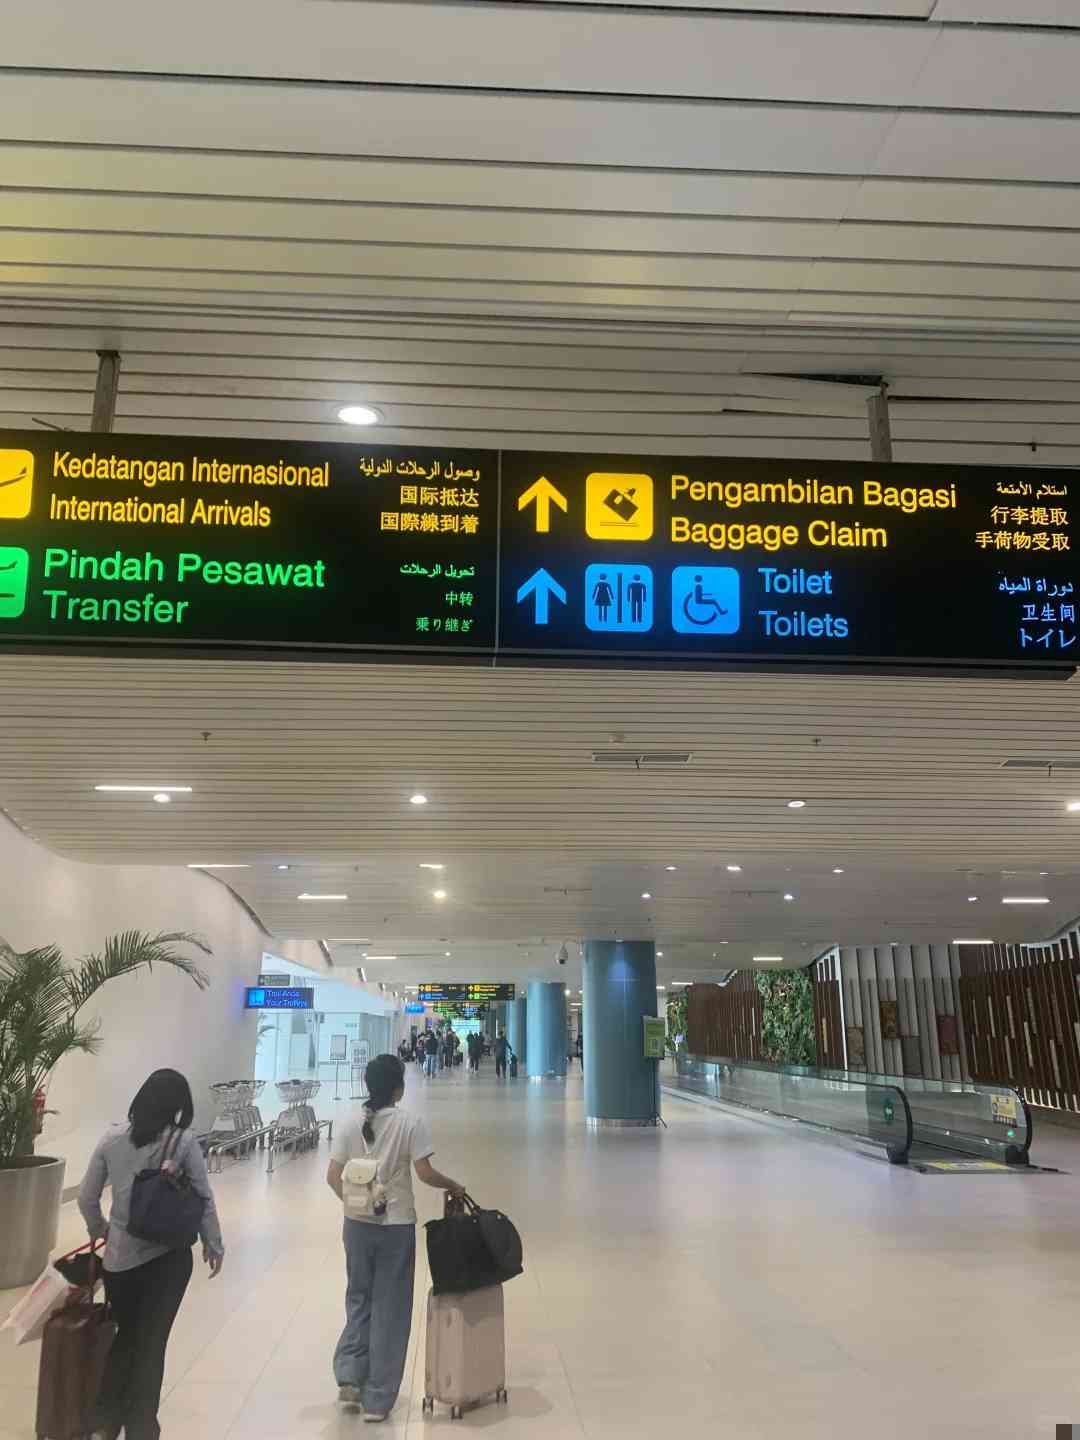
Next, I went to the self-service clearance, placed the photo page of the passport on the machine for recognition, waited a moment, and then exited automatically.
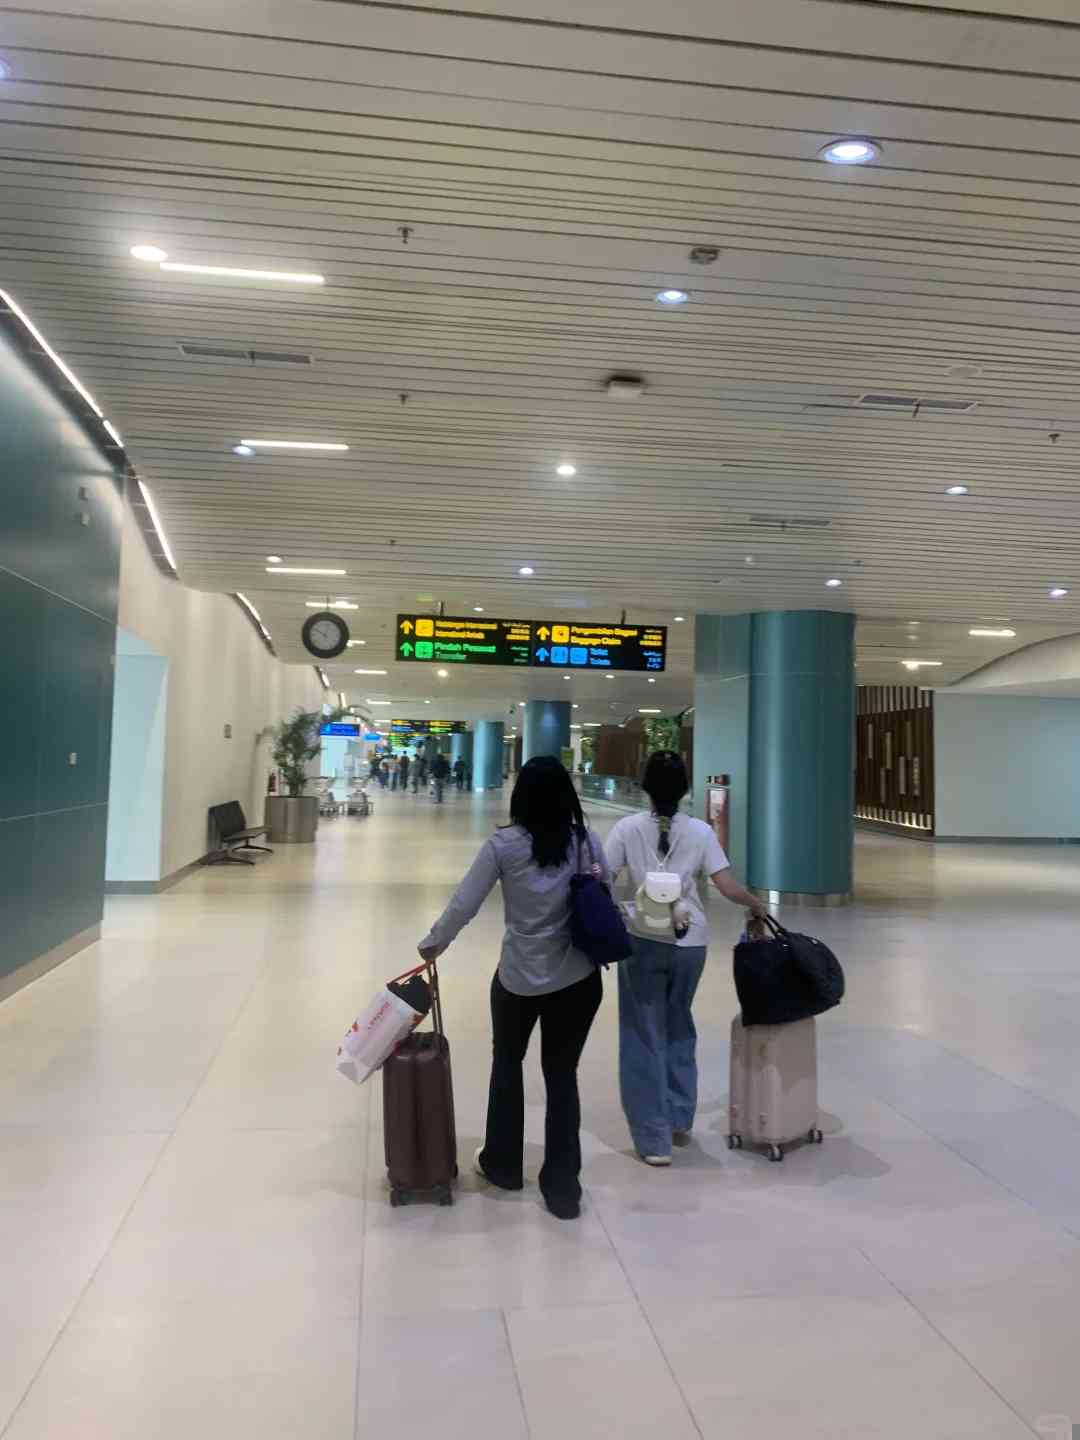
After that, I headed to the baggage claim area to collect my luggage. A friendly reminder: do not rely solely on the flight number information provided by Feichangzhun for the baggage claim; it is not always accurate. Check your flight number on the display to see which carousel your luggage is on. After collecting the luggage, I went out and met up with the friend who came to pick me up.
The entire exit process was quick and smooth, so there’s no need to worry about being harassed or asked for tips if you haven’t applied for an e-visa. I personally tested it, and it was very formal… More updates to follow.

